
Practical tutorial

How to use rodin ai for a usable 3D model

This guide to how to use rodin ai covers the complete path from a clear idea or reference image to a model you can inspect, refine, and place in a project. The process is simple, but the quality of the input and the final review matter.

Review the result before export
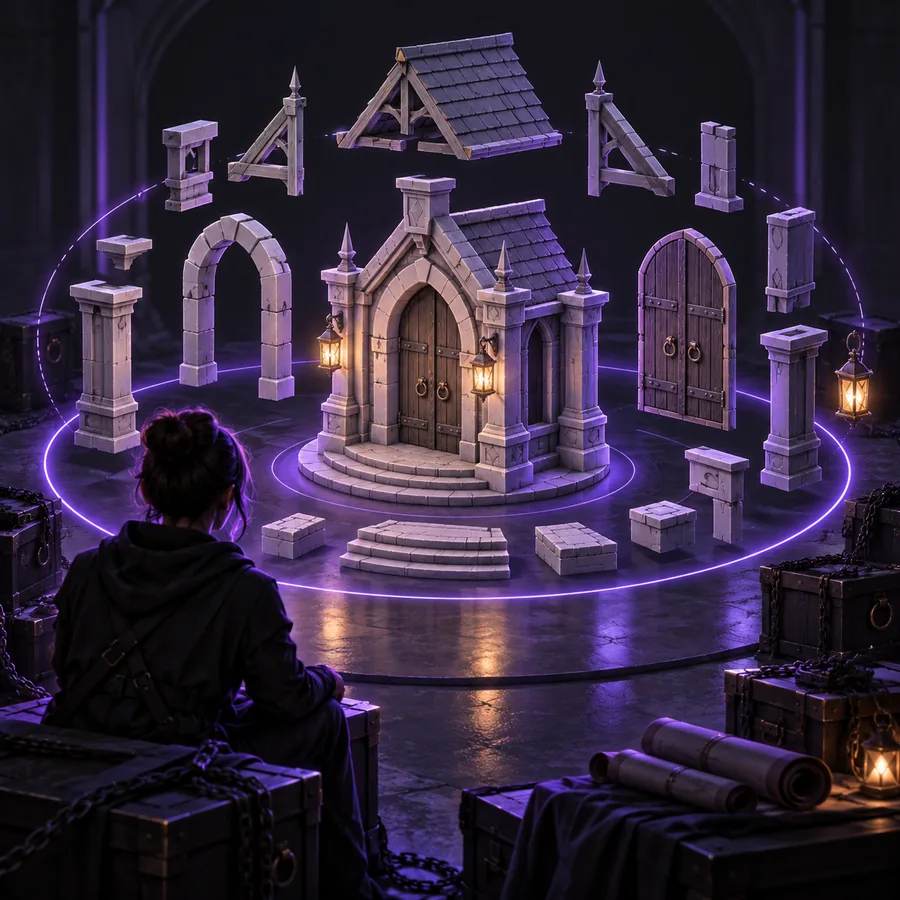
Rodin AI 3D generation workspace with a stylized model preview

Numbered steps

Use the workflow in three passes: define the object, inspect the generated asset, then refine the parts that affect its intended use.

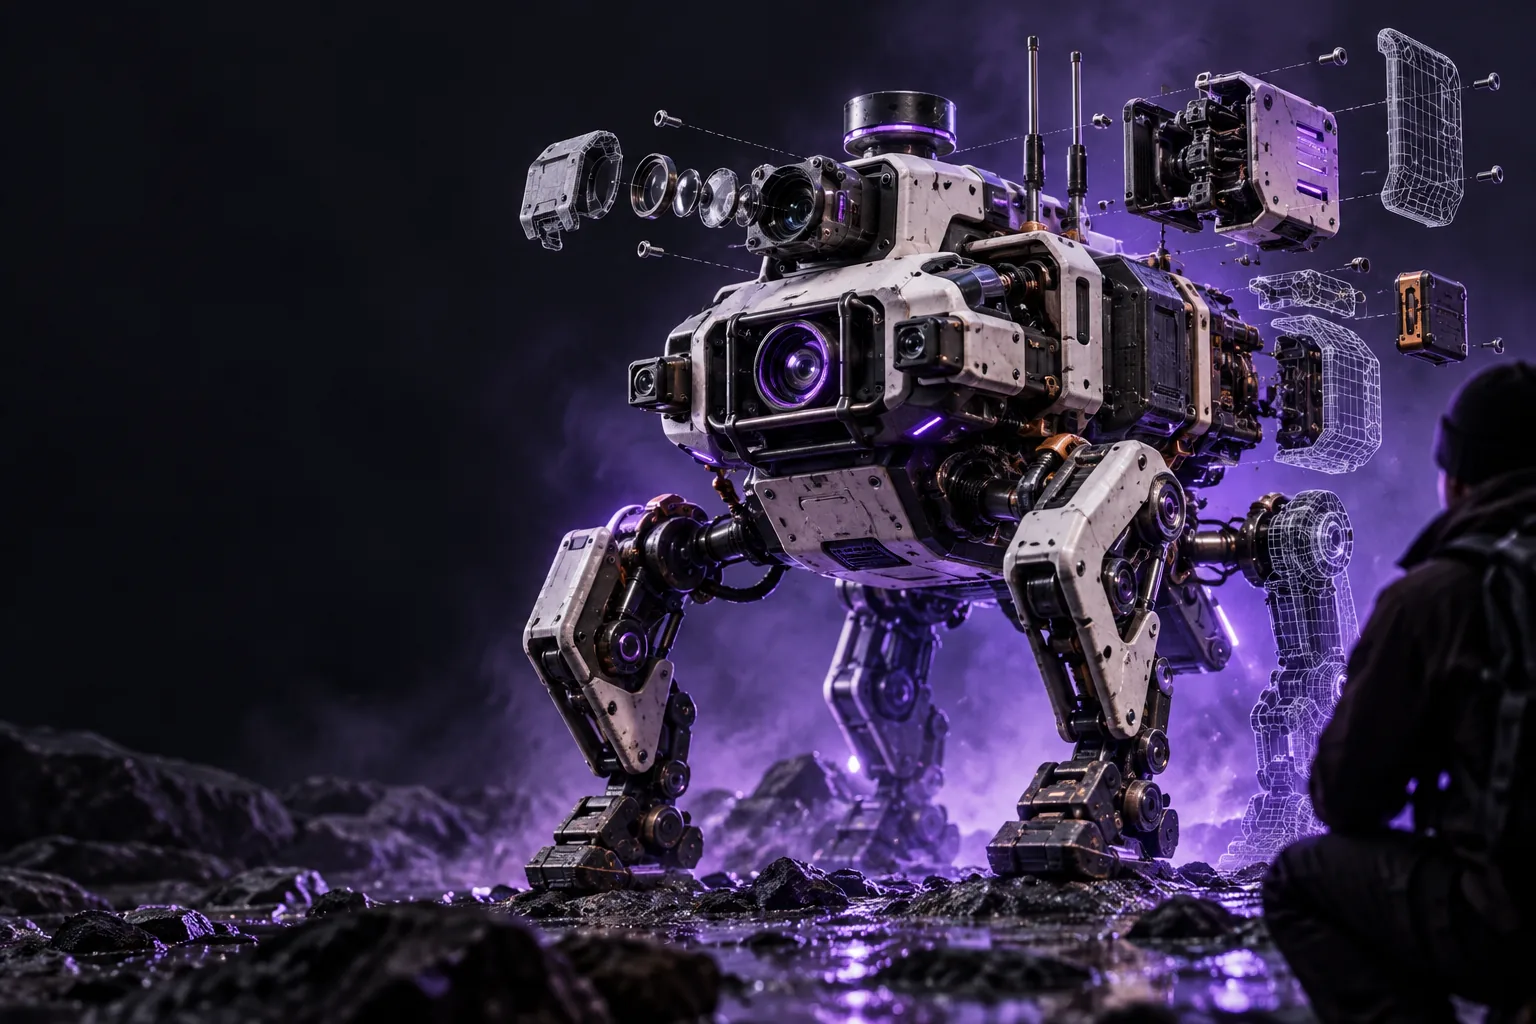
Reference-inspired 3D object with a clear silhouette

1. Define one object clearly

Start with the subject, its main form, and the qualities that must survive the conversion. Mention the material, overall style, important openings or attachments, and the viewing angle that matters most. Avoid combining unrelated objects in the first attempt. For example, “a compact camping lantern with a metal handle, frosted glass body, and circular base” gives the generator a stronger hierarchy than a paragraph describing an entire campsite.

INPUT RULE

Describe the object first; add surface and style details second.
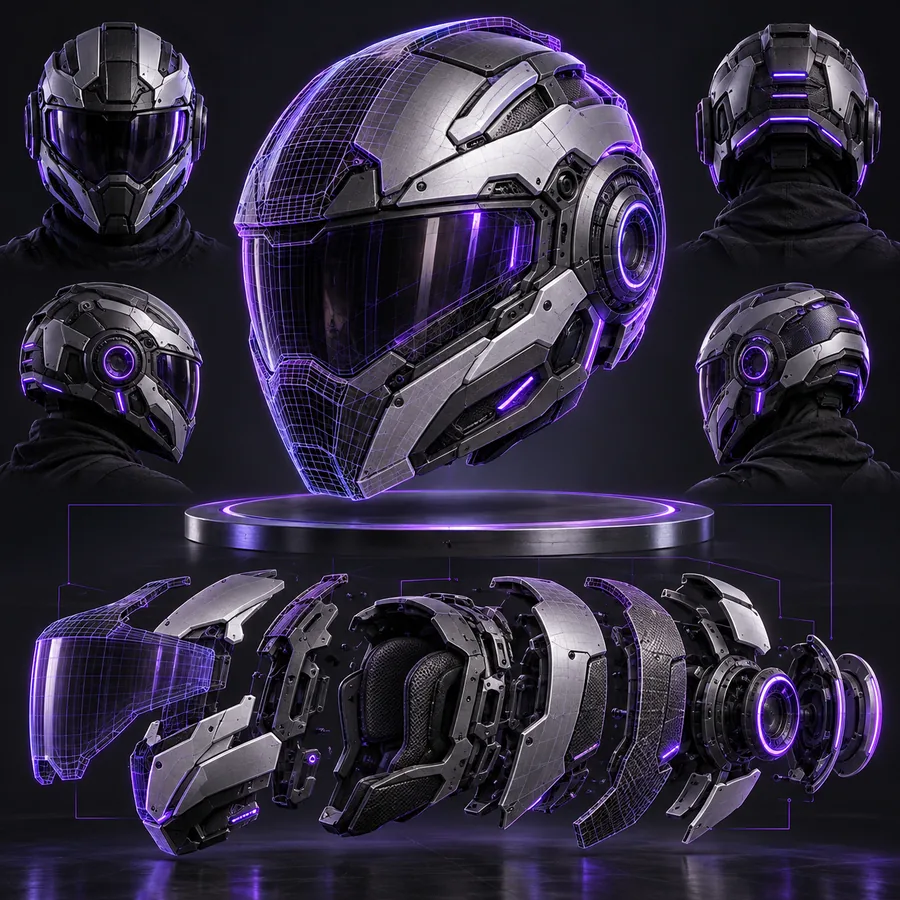
3D reference workflow showing a clearly framed object

2. Choose the strongest visual reference

When you have an image, select one with a distinct silhouette, even lighting, and as little background clutter as possible. A side or three-quarter view often communicates depth better than a tightly cropped front view. If the subject has hidden parts, use your written description to identify them rather than assuming the image will show everything. Keep the first reference focused, then test alternate views only when the initial shape is sound.

REFERENCE RULE

Prioritize readable contours over dramatic lighting or busy composition.

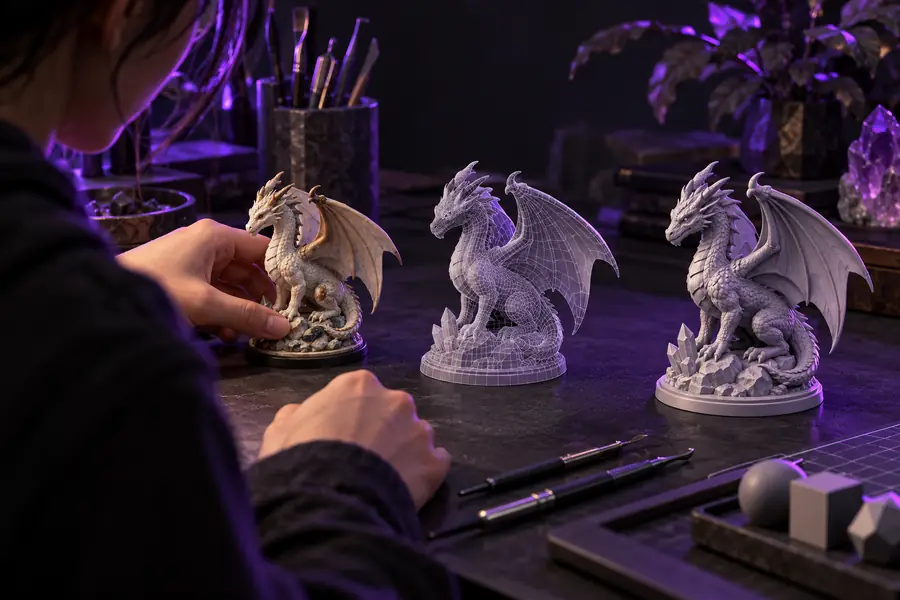
Generated 3D model being reviewed from multiple angles

3. Inspect before you build around it

Treat the first output as a draft, not a finished asset. Rotate it, check the underside, look for thin or fused parts, and compare the proportions with the source. Then decide whether the model is suitable for a concept image, a scene blockout, a game asset, or a more detailed cleanup pass. If the main silhouette is wrong, revise the input; if only a small feature is weak, keep the structure and refine that detail.

REVIEW RULE

Validate the silhouette and major forms before spending time on polish.

Common errors and fixes

Most disappointing results come from an unclear brief or a rushed review. Use these checks to diagnose the issue before starting over.

  1. 1

    The prompt is too broad

    Error: several objects, styles, and environments compete for attention. Fix: name one primary subject, then add only the two or three attributes that define it.

  2. 2

    The reference hides the form

    Error: shadows, props, or cropping obscure important contours. Fix: choose a cleaner view or explain the hidden structure explicitly in the description.

  3. 3

    The first result is accepted too quickly

    Error: the front view looks convincing but the side, underside, or attachments fail. Fix: rotate the model and inspect its weak angles before using it in a scene.

Advanced tips

Once the basic workflow is familiar, use this checklist to make iterations more deliberate instead of simply adding more words.

You must have

Without every one of these the route does not run.

  • Separate must-have geometry from optional style details so the main form stays prominent.

    Lock the silhouette before exploring decoration.

  • Use consistent terms for the same part across every revision.

    Do not alternate between names such as handle, grip, and loop.

  • Match the review standard to the destination: concept, render, animation, or interactive scene.

    A model can be useful for one purpose without being ready for another.

Nice to have

Skip any of these and the route still works — they only make it faster.

  • Keep a successful reference and change one variable at a time during comparison.

    This makes it easier to identify what improved the result.

  • Save the description that produced the strongest structure before trying more experimental variations.

    A reliable baseline prevents unproductive iteration.

The best workflow depends on what you are trying to do with the output. These three perspectives help you set an appropriate quality bar.

Move from idea to visual blockout

For early concept work, prioritize recognisable shape, proportion, and mood over perfect topology. Use the generated model to test camera angles, silhouettes, and object relationships before committing to detailed manual modeling.

Keep the subject description focused on visible design decisions.
Review several angles before selecting a hero view.
Use the result as a blockout when the final asset needs custom sculpting.

Prepare a cleaner production starting point

For asset development, inspect every side and identify which areas need cleanup. Pay special attention to intersections, thin components, repeated details, and surfaces that will be close to the camera. The generated result can accelerate the first pass, but production readiness still depends on your own pipeline checks.

Check scale and proportions against the intended scene.
Separate essential geometry from details that can be rebuilt.
Test the model in the software and material setup where it will be used.

Test composition before committing

For a scene or presentation, use the model to explore placement, scale, and lighting quickly. A model that reads well at a distance may be sufficient for a background prop, while a hero asset needs closer inspection and more refinement.

Judge the asset at the camera distance that matters.
Confirm the silhouette works against the planned background.
Refine only the details visible in the final composition.
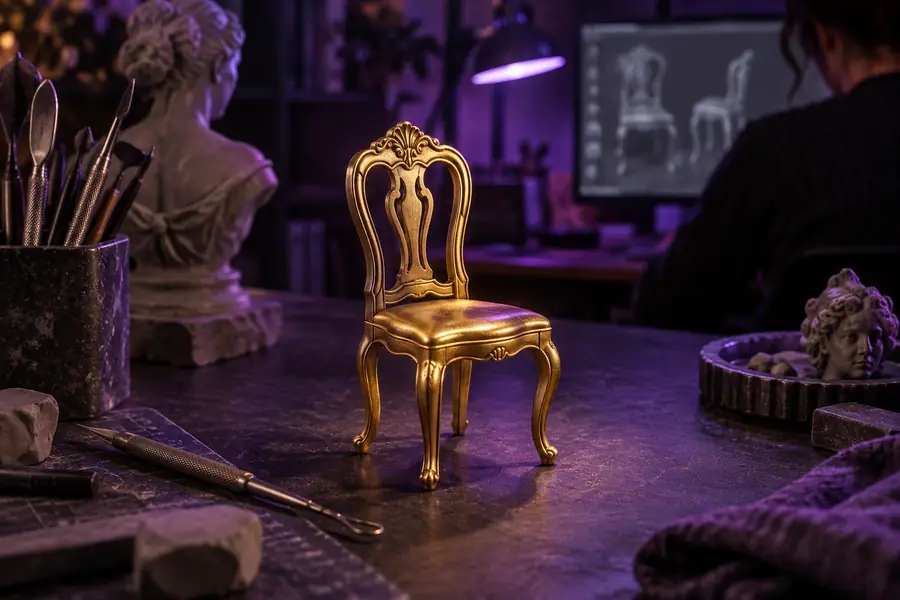
Reference image of a small golden chair Generated study of a golden chair as a 3D asset Reference Generated study

Compare the silhouette, proportions, and visible details before deciding whether another iteration is needed.

ReferenceGenerated study

Turn a clear brief into your next 3D starting point

Bring a focused subject, a useful reference, and a specific intended use. The workflow is most effective when you review the output with the same care you used to describe it.

Create a 3D model
  • Start with one primary object
  • Review the model from multiple angles
  • Refine the input when the silhouette is wrong

Tutorial FAQ

Begin with a focused description or a clear reference image, then generate an initial model and inspect it from multiple angles. Keep the first pass simple, identify the largest issue, and revise the input or reference before adding more detail.

State the primary object first, followed by its shape, material, important parts, and visual style. Include details that affect the silhouette or intended use, and avoid filling the description with background elements that are not part of the asset.

Yes, an image can help establish the subject’s proportions, colors, and overall form. Choose a reference with a readable silhouette and limited clutter, then explain any hidden or important features that the image does not show.

Rotate the model and check the silhouette, proportions, underside, attachments, and obvious surface problems. Readiness depends on the destination: a concept blockout can tolerate more variation than a close-up or interactive production asset.

Start creating
Start creating